 Save to Pinterest
 The first time I made these energy balls, I was desperate for something to grab during those chaotic afternoon hours when the kids burst through the door starving and I'm simultaneously trying to finish a work email. I'd been buying those expensive packaged energy bars for months, watching the grocery budget creep up while wondering what half the ingredients actually were. One rainy Tuesday, staring at three overripe bananas on the counter, I decided to experiment with what I already had in the pantry.
Last summer during our beach week, I made a double batch and packed them in the cooler for our day trips. My sister-in-law kept eyeing them suspiciously until she finally tried one, then proceeded to eat three more throughout the day, texting me the recipe that evening before she even unpacked her car. Now they're a requested item for every family gathering, road trip, and afternoon slump moment.
Ingredients
- 1 large ripe banana, mashed: The riper the banana, the sweeter and more flavorful your energy balls will be, with those natural brown spots doing all the heavy lifting for sweetness
- 1 1/2 cups rolled oats: Old-fashioned oats give the best texture, creating that satisfying chew that holds everything together beautifully
- 1/2 cup almond butter: Creamy almond butter creates the perfect binding agent, though I've discovered peanut butter works just as well if that's what you have on hand
- 1/4 cup honey or maple syrup: Just enough natural sweetness to make these feel like a treat while keeping the sugar content reasonable and balanced
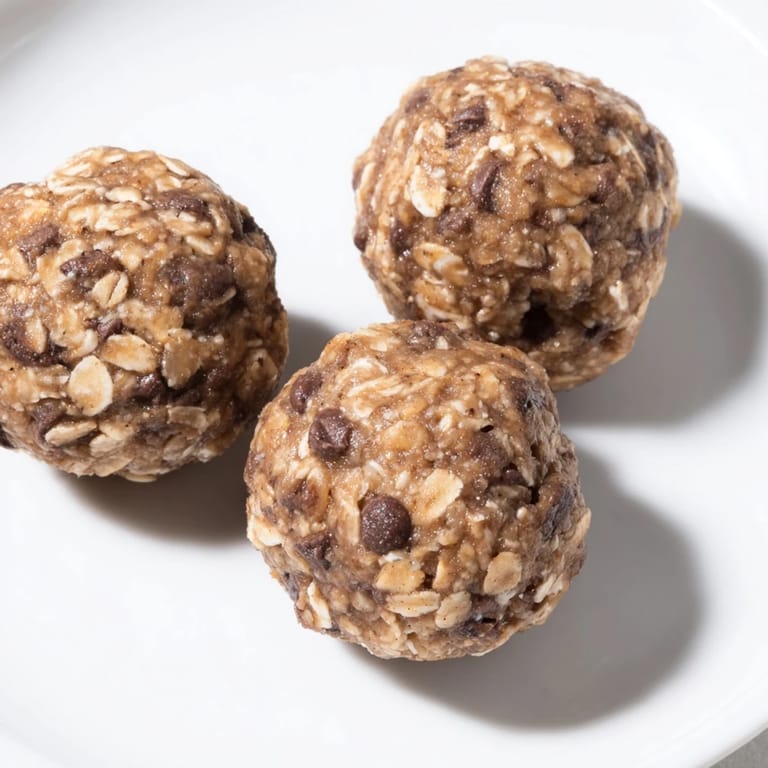
- 1/3 cup mini chocolate chips: Mini chips distribute more evenly throughout the mixture, ensuring every single bite has that perfect chocolatey moment
- 1/4 cup ground flaxseed: This adds a subtle nuttiness while boosting the nutrition profile with omega-3s that you won't even notice are there
- 1/2 tsp vanilla extract: Pure vanilla extract rounds out all the flavors and makes these taste much more indulgent than they actually are
- Pinch of sea salt: Just a tiny pinch amplifies the chocolate flavor and balances the natural sweetness from the banana and honey
Tired of Takeout? 🥡
Get 10 meals you can make faster than delivery arrives. Seriously.
One email. No spam. Unsubscribe anytime.
Instructions
- Mash your banana:
- Get yourself a large mixing bowl and peel that ripe banana, using a fork to mash it until it's completely smooth with no large chunks remaining, creating the perfect creamy base.
- Combine the wet ingredients:
- Add your almond butter, honey or maple syrup, and vanilla extract to the mashed banana, stirring until everything is thoroughly incorporated and the mixture looks glossy and uniform.
- Add the dry ingredients:
- Pour in the oats, ground flaxseed, and that pinch of sea salt, followed by the mini chocolate chips, mixing well until the mixture holds together when you squeeze a bit in your hand.
- Let it rest:
- Pop your bowl in the refrigerator for 20 to 30 minutes, which isn't strictly necessary but makes the rolling process so much easier and less sticky.
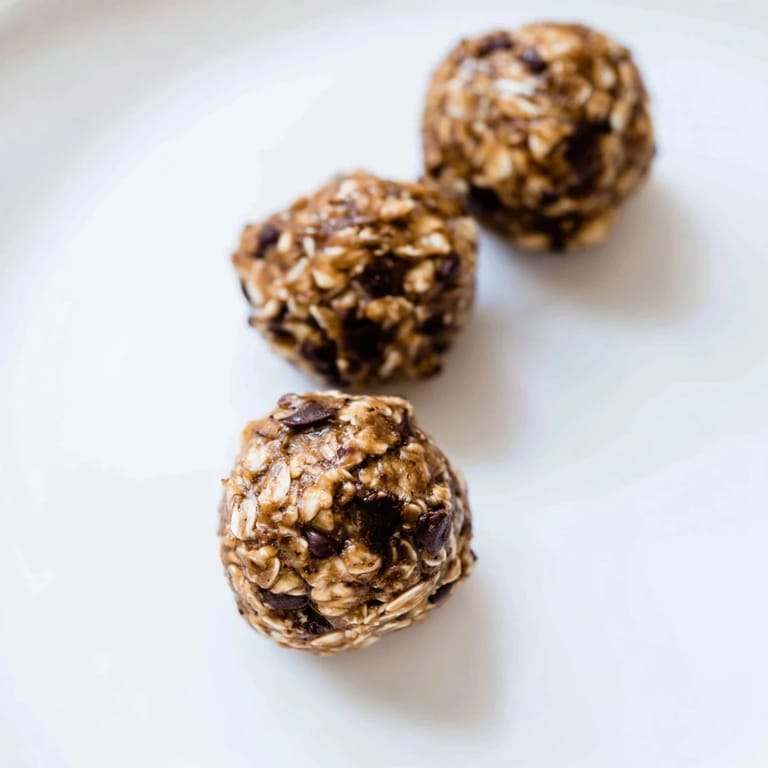
- Roll into balls:
- Scoop about a tablespoon of mixture at a time and use your hands to roll into 1-inch balls, placing them on a parchment-lined tray as you work.
- Store properly:
- Transfer your finished energy balls into an airtight container and keep them refrigerated for up to a week, though they rarely last that long in my house.
 Save to Pinterest
 These energy balls have become my go-to gift for new moms, friends recovering from surgery, or anyone who could use a little extra nourishment without the fuss. There's something deeply satisfying about making something so wholesome with your own hands, knowing exactly what went into it, and watching people's faces light up when they realize how good healthy can actually taste.
Make Them Your Own
The beauty of this recipe is how incredibly forgiving it is, adapting to whatever you have in your pantry or whatever your family prefers. I've made countless variations depending on the season, what's on sale at the grocery store, or simply what I'm craving that week.
Storage Secrets
I've learned through trial and error that these energy balls freeze beautifully for up to three months, making them perfect for batch cooking when you have a spare ten minutes. I often double the recipe and keep one container in the fridge for immediate snacking while freezing the rest, always transferring them to the refrigerator the night before I want to grab them.
Serving Ideas
While they're perfect straight from the container, I've discovered they're even more delicious when paired with a cold glass of almond milk or crumbled over Greek yogurt for an instant breakfast upgrade. My youngest daughter loves hers slightly frozen, claiming they taste like tiny cookie dough ice cream bites, and honestly, she's not wrong.
- Try rolling them in shredded coconut or chopped nuts for extra texture and a fancier presentation
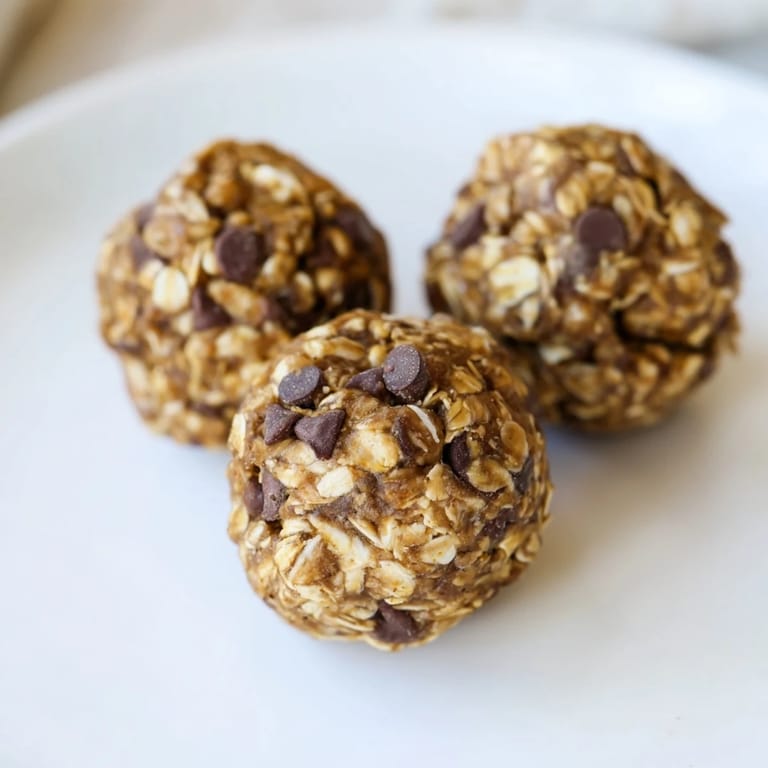
- Press a few extra chocolate chips into the tops before refrigerating for that bakery look
- Set out a plate at your next gathering and watch them disappear faster than the traditional desserts
 Save to Pinterest
 These little energy balls have saved me more afternoons than I can count, turning potential hangry meltdowns into moments of simple, wholesome nourishment. Here's to keeping something real and homemade within reach, even on our busiest days.
Recipe FAQs
- → How long do these energy balls keep?
Store in an airtight container in the refrigerator for up to one week. The chilled texture is firm and refreshing.
- → Can I freeze these energy balls?
Yes, freeze in a single layer on a tray, then transfer to a freezer bag. They keep for up to 3 months. Thaw in the refrigerator for 2 hours before serving.
- → What can I substitute for almond butter?
Peanut butter, sunflower seed butter for nut-free, cashew butter, or any other nut butter works equally well in this mixture.
- → Do I need to refrigerate the mixture before rolling?
Refrigerating for 20-30 minutes helps firm the mixture, making it easier to roll into clean balls without sticking to your hands.
- → Are these suitable for vegans?
Replace honey with maple syrup and use dairy-free chocolate chips to make these completely plant-based.
- → Why chill the mixture before rolling?
Chilling firms up the banana and nut butter mixture, preventing it from becoming too sticky and making the rolling process much cleaner.