 Save to Pinterest
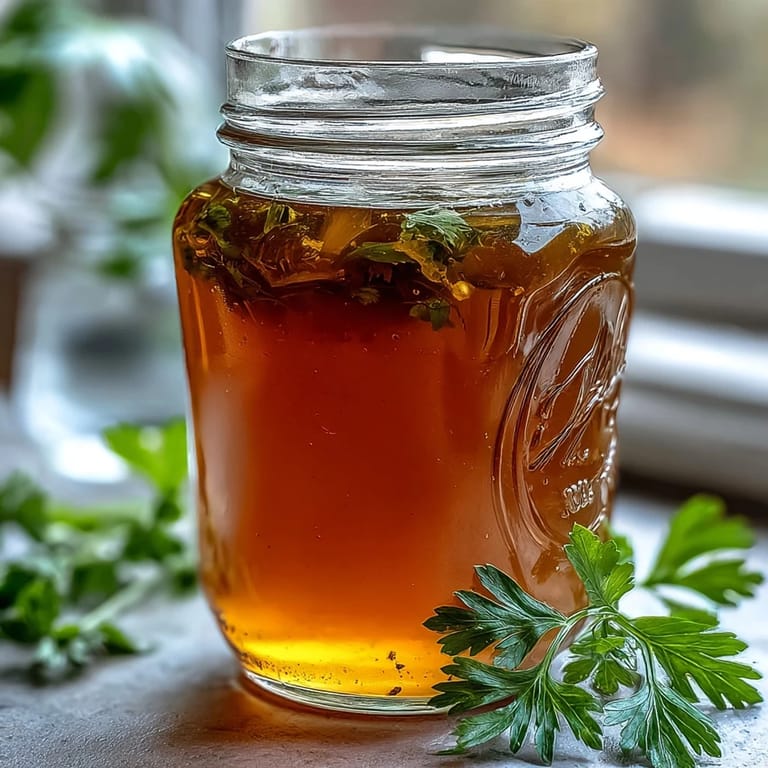
 The ritual of making vegetable broth from scraps began during that penny-pinching winter when I was between jobs. Standing in my kitchen, staring at a pile of carrot peels and onion ends destined for the trash, something clicked. Why was I throwing away what generations before me had treasured? That evening, with steam fogging my glasses and the apartment filled with an aroma that felt like a warm embrace, I realized this wasn't just thrifty cooking—it was kitchen alchemy at its finest.
Last autumn, my neighbor dropped by just as I was straining a particularly fragrant batch of broth. She mentioned she'd never considered making her own, always relying on store-bought cubes. The look on her face when she sipped that first spoonful—pure revelation. Two weeks later, she texted me a photo of her freezer door, now lined with containers of golden broth, each labeled with the date and main vegetable components. I couldn't help but smile at this small but meaningful ripple effect.
Ingredients
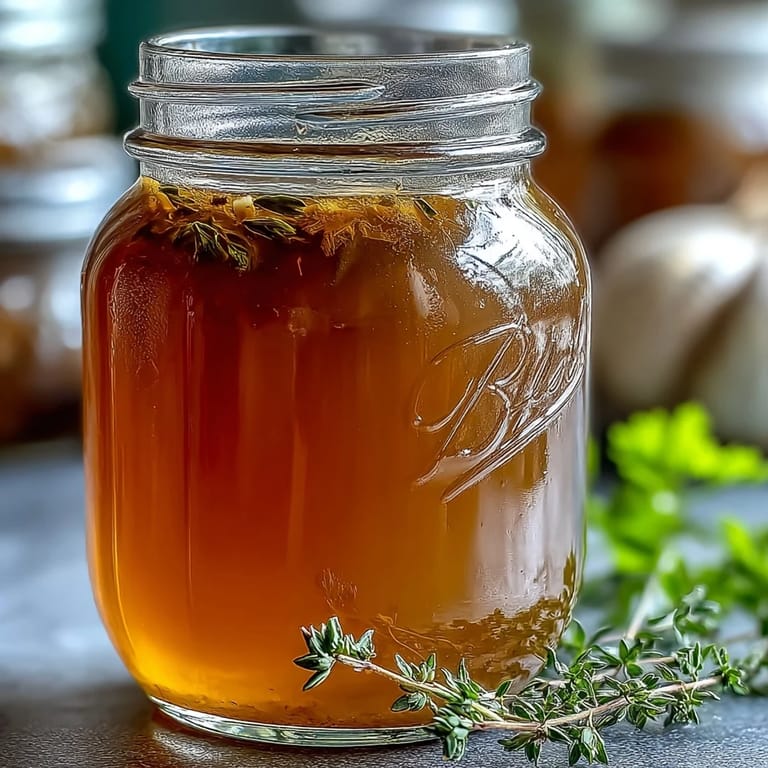
- 4 cups vegetable scraps: Think of this as your vegetable memory box—carrot peels that still have that earthy sweetness, leek tops with their subtle onion bite, and those mushroom stems packed with umami goodness.
- Aromatics: Bay leaf, peppercorns, and optional garlic aren't just supporting characters, they're the backbone that transforms water and scraps into something worthy of building your next meal upon.
- Cold water: Always start with cold water, as it coaxes flavor out gradually rather than shocking the vegetables, something my grandmother insisted made all the difference.
Tired of Takeout? 🥡
Get 10 meals you can make faster than delivery arrives. Seriously.
One email. No spam. Unsubscribe anytime.
Instructions
- Gather with purpose:
- Collect your vegetable trimmings with intention, avoiding bitter brassicas like broccoli or cabbage that can overwhelm your broth. I keep a dedicated container in my freezer where I add clean scraps throughout the week.
- Assemble your flavor foundation:
- Layer your vegetable treasures with bay leaf, peppercorns, and optional garlic in a large pot. The anticipation builds as you pour cold water over them, watching as the water takes on the first hint of color.
- The gentle simmer:
- Bring everything to a boil before reducing to that perfect, quiet simmer—just active enough that tiny bubbles regularly break the surface. This gentle extraction gives you clarity without bitterness.
- The waiting game:
- Let everything mingle for 45-60 minutes, occasionally skimming any foam that rises to the surface. Your kitchen will gradually fill with an aroma that makes even takeout-devoted visitors ask what you're cooking.
- The grand finale:
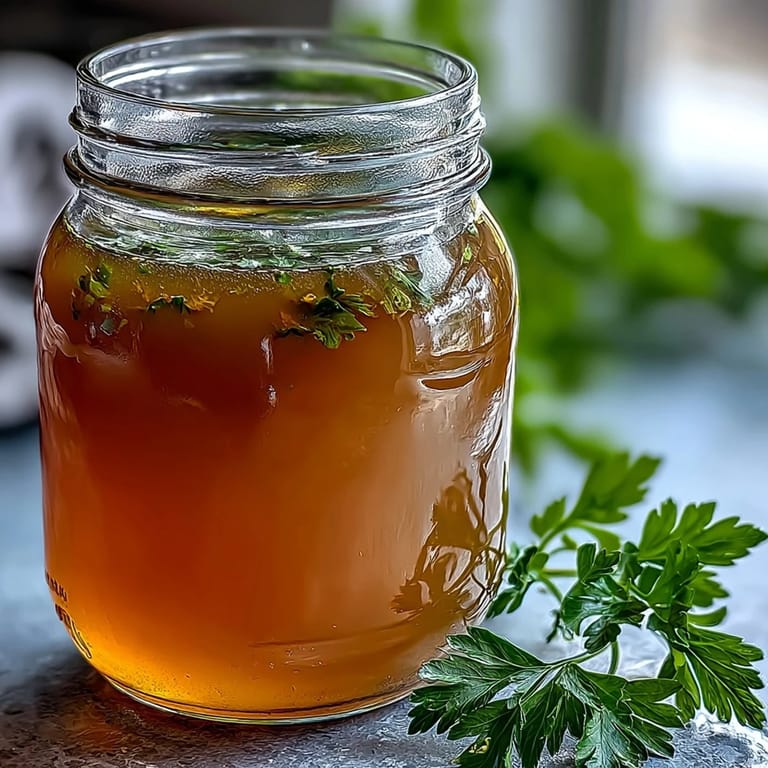
- Strain the liquid carefully through a fine-mesh sieve, watching as the golden elixir collects below. There's something meditative about this moment, seeing weeks of collected scraps transform into something so valuable.
 Save to Pinterest
 On a particularly brutal day last winter, when I was fighting off a cold and feeling thoroughly sorry for myself, I heated a mug of this broth, added a pinch of salt and a squeeze of lemon, and felt myself begin to thaw from the inside out. It wasn't just nourishment but comfort, wrapped in the satisfaction of having created something so healing from what would otherwise have been discarded. In that moment, this humble broth became more than an ingredient—it became care in liquid form.
Storage Wisdom
I've learned through messy mishaps to cool my broth completely before transferring to storage containers, avoiding both burns and cracked glass jars. Dividing the cooled broth into various sized containers—from ice cube trays for small recipe needs to pint containers for soups—has revolutionized my weeknight cooking. The freezer becomes your pantry, allowing you to add depth to dishes with minimal effort, turning Tuesday night's thrown-together grain bowl into something that tastes purposeful and complete.
Flavor Variations
Each batch of vegetable broth carries its own personality, influenced by whatever scraps you've collected. Some of my most memorable batches have featured unlikely heroes—the tough outer leaves of fennel added a gentle anise note, while corn cobs created an unexpectedly sweet, summery broth perfect for chowders. I've even experimented with adding a small piece of dried kombu seaweed, which introduces a subtle oceanic umami that's particularly wonderful in risottos or when cooking beans.
Beyond Soups and Stews
This broth has become my secret weapon in the kitchen, extending far beyond its obvious soup applications. I've watched dinner guests try to identify the mysterious depth in my perfectly cooked grains, never suspecting it was simply rice cooked in homemade broth instead of water. The same transformation happens with beans, turning a humble pot of legumes into something restaurant-worthy.
- Try deglazing your pan with broth instead of wine when making pan sauces—the complexity it adds is remarkable.
- Freeze some broth in ice cube trays for those moments when you need just a splash of flavor to elevate a sauce or gravy.
- Remember that this broth can be reduced further to intensify its flavor, creating something closer to a vegetable demi-glace that can transform even the simplest meals.
 Save to Pinterest
 This humble broth is a testament to the beauty of mindful cooking, where nothing goes to waste and everything serves a purpose. Whether you're sipping it from a mug on a cold day or using it as the foundation for your next culinary masterpiece, it carries with it the satisfying knowledge that you've honored both your ingredients and traditions of resourceful cooking.
Recipe FAQs
- → What vegetables work best for homemade broth?
Carrot peels, onion skins, celery ends, leek tops, mushroom stems, parsley stems, and garlic skins create the most flavorful base. These aromatic vegetables build depth without overpowering the final broth.
- → Which vegetables should I avoid adding?
Skip potato peels, brassicas like broccoli and cauliflower, and overly starchy or sweet vegetables. These can make your broth cloudy, bitter, or unpleasantly thick.
- → How long does this broth stay fresh?
Refrigerate in airtight containers for up to 5 days, or freeze for up to 3 months. The broth develops even more flavor after sitting overnight in the refrigerator.
- → Can I enhance the flavor further?
Roast vegetable scraps at 200°C (400°F) for 20 minutes before simmering for deeper, caramelized notes. Adding kombu or dried mushrooms boosts umami richness beautifully.
- → Should I salt the broth?
Add salt sparingly or skip it entirely if using the broth as a base for other dishes. This allows you to control sodium levels in your final preparations more precisely.
- → What's the best way to strain the broth?
Use a fine-mesh sieve or cheesecloth for the clearest results. Press gently on the solids to extract maximum flavor without forcing cloudiness into your finished broth.