 Save to Pinterest
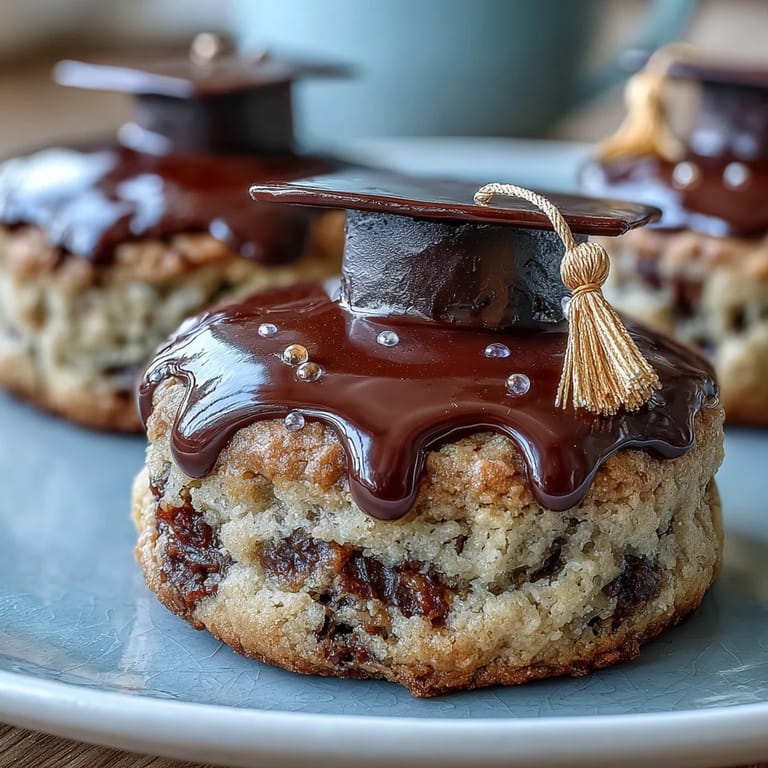
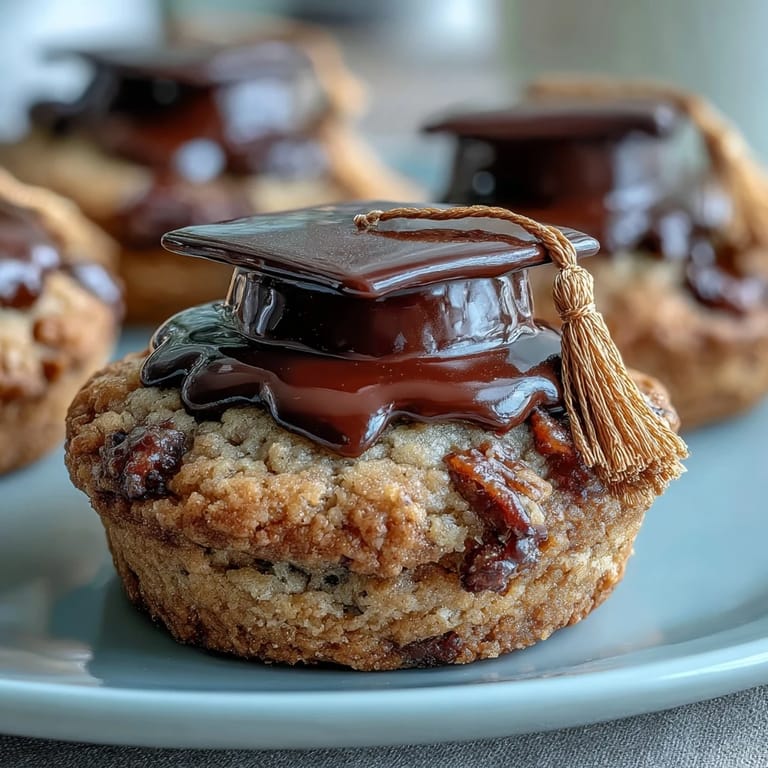
 My sister texted me at midnight the week before her graduation asking if I could make something special for her celebration brunch. I was half asleep, scrolling through my phone, when she sent a photo of graduation cap cookies from some fancy bakery with a hopeful emoji. Something about that request stuck with me—not just the ask, but the trust that I'd figure it out. By morning, I was already mixing butter and sugar, imagining tiny black caps with golden tassels lining a dessert table while she walked across the stage in real life. These cookies became my way of saying what words sometimes can't.
I'll never forget watching my mom's face when she saw the finished cookies lined up on a platter—she kept picking one up, examining it from different angles like she couldn't quite believe they came from our kitchen. My brother actually used one as a place card at the table, setting it by someone's seat like it was too nice to eat. It turned out most people felt that way, which meant I got to enjoy watching them slowly disappear throughout the afternoon as guests convinced themselves it was okay to indulge.
Ingredients
- All-purpose flour (2 1/2 cups): This is your foundation—make sure it's measured correctly by spooning and leveling rather than scooping straight from the bag, which packs it down and throws off your ratios.
- Unsalted butter (3/4 cup), softened: Soft butter creams faster and smoother, which means lighter, fluffier cookies; take it out 30 minutes before baking and press it with your finger to confirm it's ready.
- Granulated sugar (1 cup): The engine of crispness; don't skimp or substitute with brown sugar unless you want chewy cookies instead of snappy ones.
- Large egg: Brings structure and helps bind everything together without making the dough tough.
- Vanilla extract (2 teaspoons for dough, 1/2 teaspoon for icing): Use real vanilla when you can—it adds depth that makes people wonder what your secret is.
- Powdered sugar (3 cups), sifted: Sifting removes lumps and makes your icing smooth and paintable; don't skip this step or you'll spend decorating time fishing out grainy bits.
- Egg whites or meringue powder: Egg whites whip into glossy peaks naturally, but meringue powder is safer if you're nervous about raw eggs and works just as well.
- Black and yellow gel food coloring: Gel is thicker than liquid food coloring, so a tiny dab goes a long way without watering down your icing.
- Mini yellow M&Ms or candy pearls: These become the tassel beads that make each cap instantly recognizable; they're also the part kids get most excited about.
Tired of Takeout? 🥡
Get 10 meals you can make faster than delivery arrives. Seriously.
One email. No spam. Unsubscribe anytime.
Instructions
- Gather and measure everything first:
- Mise en place isn't just a fancy term—it's the difference between a smooth baking session and hunting for ingredients halfway through. Sift your powdered sugar now so it's ready when you need it.
- Cream butter and sugar until fluffy:
- This step matters more than you'd think; beat them for a full 2–3 minutes until the mixture is pale and airy, almost mousse-like. You should hear the change in sound as air gets incorporated.
- Add egg and vanilla gently:
- Mix until just combined so you don't overwork the dough. The egg should disappear into the butter mixture, and the vanilla should smell warm and welcoming.
- Fold in your dry ingredients slowly:
- Add the flour mixture in two or three batches, mixing just until no streaks of white remain. Overmixing at this stage leads to tough cookies, which defeats the whole purpose.
- Chill the dough with patience:
- Thirty minutes in the fridge isn't negotiable—cold dough is easier to roll and cut, and it bakes into cookies with crisp edges instead of spreading flat. Use this time to preheat your oven and line your baking sheets.
- Roll and cut with a light hand:
- Flour your surface and rolling pin lightly so the dough doesn't stick, then aim for 1/4-inch thickness so each cookie bakes evenly. If you don't have a graduation cap cutter, a square works beautifully too.
- Bake until the edges turn golden:
- Watch them carefully in the final minutes—these are delicate and go from perfect to overdone quickly. They'll continue cooking slightly after you pull them out, so remove them when the edges are just barely golden.
- Cool completely before decorating:
- Patience here prevents icing from sliding off warm cookies. Let them rest on the baking sheet for a few minutes, then move to a cooling rack.
- Beat egg whites into glossy peaks:
- Start foamy, then gradually add powdered sugar while beating, which takes about 5 minutes total. You'll know it's right when the peaks stand up and the mixture looks like shiny, stiff clouds.
- Color your icing with precision:
- Use a toothpick to add gel coloring, stirring thoroughly because gel is concentrated and a little goes far. Tint most of the icing black for the caps and save a small portion yellow for tassels.
- Adjust consistency for different jobs:
- Flooding icing (for filling the cookie) should flow like honey when you drizzle it; piping icing (for details) should hold its shape. Add water by the teaspoon for flooding, more powdered sugar for piping.
- Outline and flood with confidence:
- Pipe a thin black line around each cookie's edge, then fill the center with flooding-consistency icing. Use a toothpick to gently spread it toward the edges, and let it set for 30–60 minutes until it firms up.
- Pipe yellow details with a steady hand:
- Once the black icing is set, switch to yellow icing in a small piping bag and pipe a tiny tassel shape and a button on top of each cap. The steadier your hand, the more polished these look.
- Top with candy while icing is still tacky:
- Place an M&M or candy pearl at the end of the yellow tassel so it adheres properly. This is the final flourish that makes them unmistakably graduation caps.
- Let them dry fully before touching:
- Royal icing looks set after an hour or two, but it hardens completely overnight. If you need to move or package them sooner, handle them very gently by the edges.
 Save to Pinterest
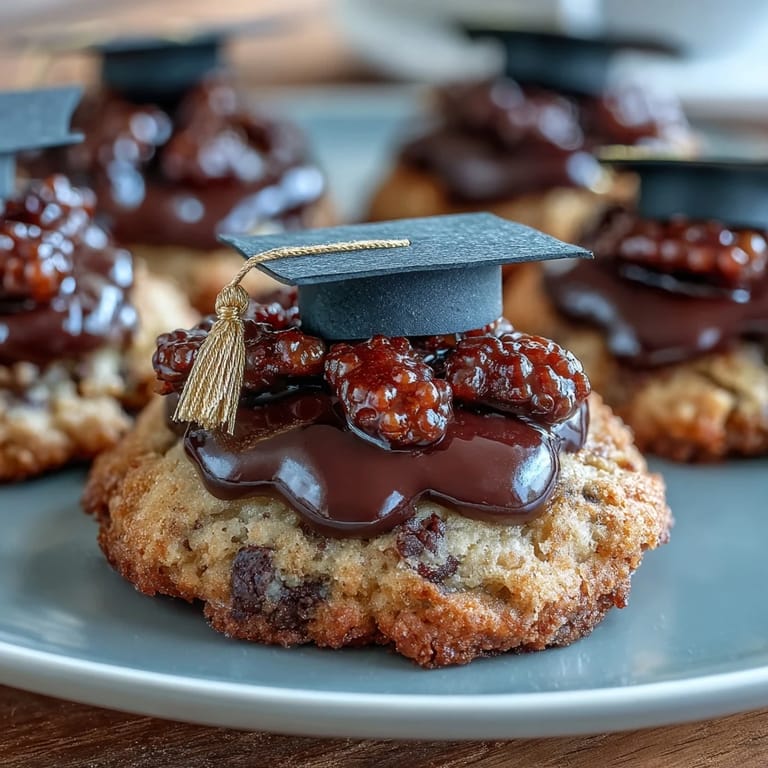
 The moment I realized these cookies had become something special was when my nephew, who's usually too cool to get excited about desserts, asked if he could save one in a box to bring to school and show his friends. That small request felt like a win—not just because the cookie looked good, but because something I made with my hands had mattered enough to carry around like a tiny trophy.
Why Patience Matters Here
Rushing through the chilling and setting steps is tempting when you're excited to decorate, but those quiet moments in the fridge and on the cooling rack are what separate gorgeous cookies from sad, deflated ones. I learned this the hard way by skipping ahead, and my first batch spread like pancakes and looked nothing like caps. Now I use that downtime to clean up, organize my piping bags, and mentally prepare for the decorating part, which is where the real magic happens anyway.
The Icing Ratio Trick
The secret to royal icing that actually works is understanding that it's two different consistencies doing two different jobs. Flooding icing pools and flows, creating that smooth, glossy finish you see on professional cookies, while piping icing holds shape and lets you draw details. Most people try to use one icing for both and wonder why their decorations look messy—you need to think of them as two separate tools, even though they start from the same base.
Storage and Gifting Wisdom
These cookies are actually more durable than they look—the royal icing seals them and keeps them fresh for days, which means you can bake them early and decorate later without stress. I store mine in a single layer on parchment in an airtight container, and they stay crisp and beautiful for up to a week, making them perfect for early prep or last-minute gifting.
- Layer them flat with parchment between each cookie so the icing doesn't stick or crack.
- Keep them in an airtight container at room temperature away from humidity, which makes royal icing weep.
- If someone needs a dozen last-minute, you can bake cookies in an afternoon and decorate them while watching a show that evening.
 Save to Pinterest
 These cookies have a way of turning an ordinary afternoon into something memorable, whether you're baking them for an actual graduation or just because someone you care about deserves something special. They're proof that homemade doesn't have to mean complicated—just thoughtful.
Recipe FAQs
- → What type of flour is best for these cookies?
All-purpose flour provides a balanced texture, yielding crisp but tender cookies.
- → How can I achieve smooth royal icing consistency?
Beat egg whites with powdered sugar until stiff peaks form, then adjust with water by teaspoon for flooding or thickening.
- → Can I prepare the dough ahead of time?
Yes, chill the dough for 30 minutes before rolling. Cookies can be baked two days in advance and decorated the next day.
- → What decorations enhance the graduation cap design?
Using black and yellow tinted icing with mini candy pearls or M&Ms creates the traditional cap and tassel look.
- → Are there alternatives to gel food coloring?
Natural colorings can be used instead of gel dyes for a more natural appearance without compromising taste.