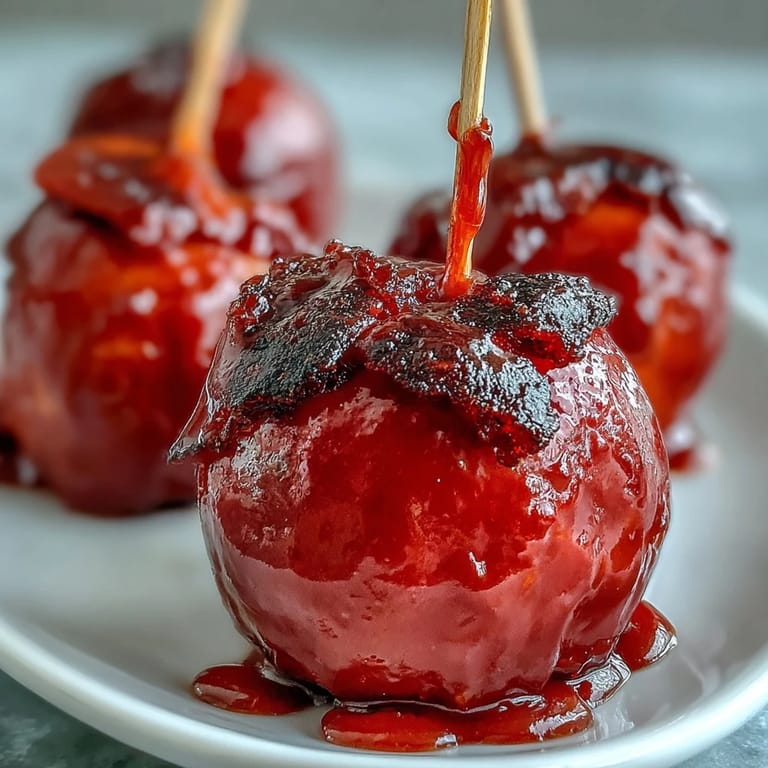
 Save to Pinterest
 My cousin brought a box of candy apple bites to a potluck last fall, and I watched them disappear in minutes while people kept circling back for just one more. There's something almost magical about that glossy red shell cracking between your teeth, giving way to tart apple flesh underneath. I finally got her to spill the secret, and it turned out to be simpler than I'd imagined, which made me wonder why I hadn't tried it sooner. Now these little skewered treasures are my go-to when I need something that feels fancy but takes hardly any time at all.
I made these for my kids' school fundraiser bake sale, and a teacher came back to ask for the recipe because she'd eaten three in a row without thinking. That moment of someone being genuinely delighted by something you made in your kitchen is worth every careful dip and glossy coat. I loved how the toothpick made them feel like a grown-up treat, something you'd find at a fancy party instead of on a school table.
Ingredients
- 2 large crisp apples (Granny Smith or Fuji): The tartness keeps these from becoming one-note sweet, and crisp varieties hold their texture under the hot candy without turning mushy.
- 1 cup granulated sugar: This is the backbone of your candy coating, so don't skimp on quality or try brown sugar as a substitute.
- 1/3 cup light corn syrup: This prevents crystallization and keeps your coating smooth and glossy rather than grainy.
- 1/4 cup water: Just enough to help the sugar dissolve initially before the heat takes over.
- 1/4 teaspoon red food coloring: A tiny bit goes a long way, and you can adjust the shade to your preference.
- Nonstick cooking spray and parchment paper: These save you from a cleanup nightmare and keep your candies from sticking.
- Optional toppings (nuts, chocolate chips, sprinkles): These add personality and texture, but work fast because the coating sets quickly.
Tired of Takeout? 🥡
Get 10 meals you can make faster than delivery arrives. Seriously.
One email. No spam. Unsubscribe anytime.
Instructions
- Get your stage ready:
- Line a baking tray with parchment paper and give it a light mist of nonstick spray so your finished bites slide off easily when they cool. This small step prevents frustration later.
- Prepare the apples:
- Cut your apples into roughly 1-inch chunks after coring them, then pat each piece dry with paper towels until they're genuinely dry to the touch. Any moisture will make the candy coating slide right off, so this matters more than you'd think.
- Skewer your bites:
- Push a toothpick into each apple chunk at an angle and set them aside on a clean plate. This gives you something to hold onto when things get hot and fast.
- Build your candy coating:
- In a small saucepan, combine sugar, corn syrup, and water, stirring just until the sugar starts to dissolve. Once you bring it to a boil over medium-high heat, step back and let it bubble away without stirring anymore, or you'll end up with a grainy mess instead of glossy candy.
- Watch the temperature climb:
- Reach hard crack stage:
- Keep your candy thermometer in the mixture and watch it climb to 300°F, which usually takes about seven to eight minutes. This temperature is what gives you that satisfying snap when you bite through the coating.
- Add your color:
- Once you hit 300°F, pull the pan off the heat immediately and stir in your food coloring, working quickly but carefully. The mixture is dangerous hot, so keep your face back and your hands steady.
- Dip with speed and confidence:
- Working as quickly as you safely can, dip each apple chunk into the hot candy, swirling it to coat completely, then place it on your prepared tray. The coating sets faster than you'd expect, so don't overthink it.
- Dress them up if you wish:
- If you're adding nuts or sprinkles, do it immediately while the coating is still tacky enough for them to stick. Once it cools even a little, they won't adhere.
- Let them set undisturbed:
- Leave them on the counter at room temperature until completely hard and cool, which usually takes fifteen to twenty minutes. Resist the urge to move them or test them too early.
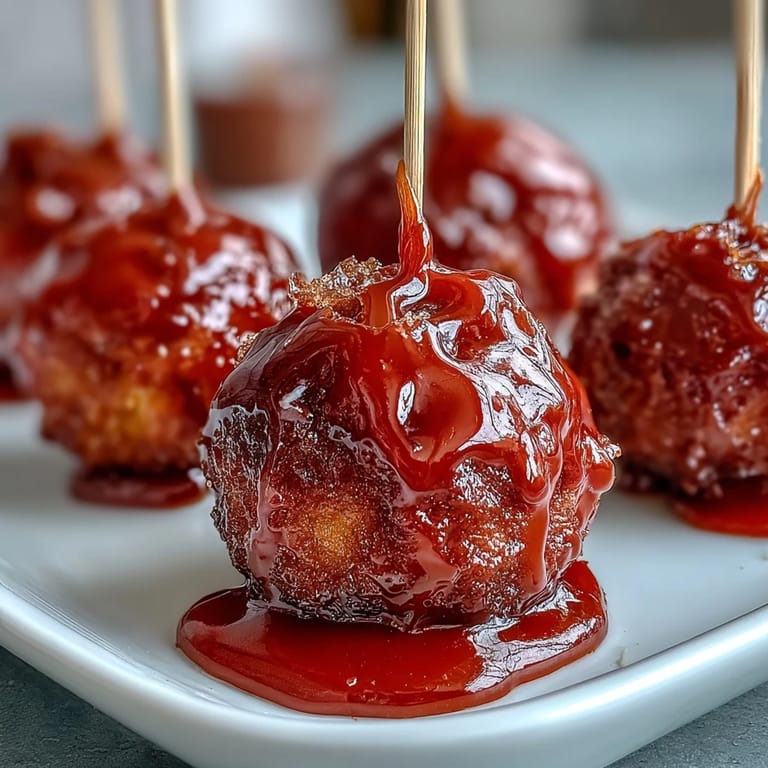 Save to Pinterest
 There's a moment when you pull those finished bites off the parchment and hear that satisfying crackle as they separate that makes you feel like you've done something genuinely impressive. Suddenly this simple combination of sugar and apple feels like an edible celebration, especially when someone picks one up and their eyes light up at the first bite.
The Science of Smooth Candy
The reason you don't stir the candy mixture after it boils comes down to how sugar crystals behave when they're heated. When you stir vigorously, you're essentially introducing tiny disturbance points that encourage the sugar to recrystallize, turning your glossy candy into a grainy, sandy mess. Letting it bubble quietly is the secret to that glass-like coating that looks professional and feels luxurious in your mouth.
Flavor Variations Worth Trying
Once you've mastered the basic red version, the possibilities expand quickly and your kitchen becomes an experiment in taste combinations. I've made versions with green food coloring paired with Granny Smith apples, deep burgundy with a splash of vanilla extract in the coating, and even a gold-tinted batch using caramelized sugar as the base. The apple itself is flexible too, so Honeycrisp, Pink Lady, or even tart Braeburn apples each bring their own personality to the finished bite.
Timing and Storage Wisdom
These bites are best eaten fresh on the day you make them, while the apple is still crisp and the candy coating still snaps cleanly when you bite into it. You can store them in an airtight container at room temperature for a couple of days, but the apple will gradually soften and the candy will absorb moisture from the air, losing some of that initial magic.
- Make these on the day of your party or gathering rather than ahead of time, since they're genuinely quick to pull together once you're ready.
- If the candy mixture hardens before you finish dipping, you can gently reheat it over low heat until it's fluid again, though it'll only need a minute or two.
- Keep your toothpicks angled slightly downward when setting them on the tray so they don't slide around while the coating sets.
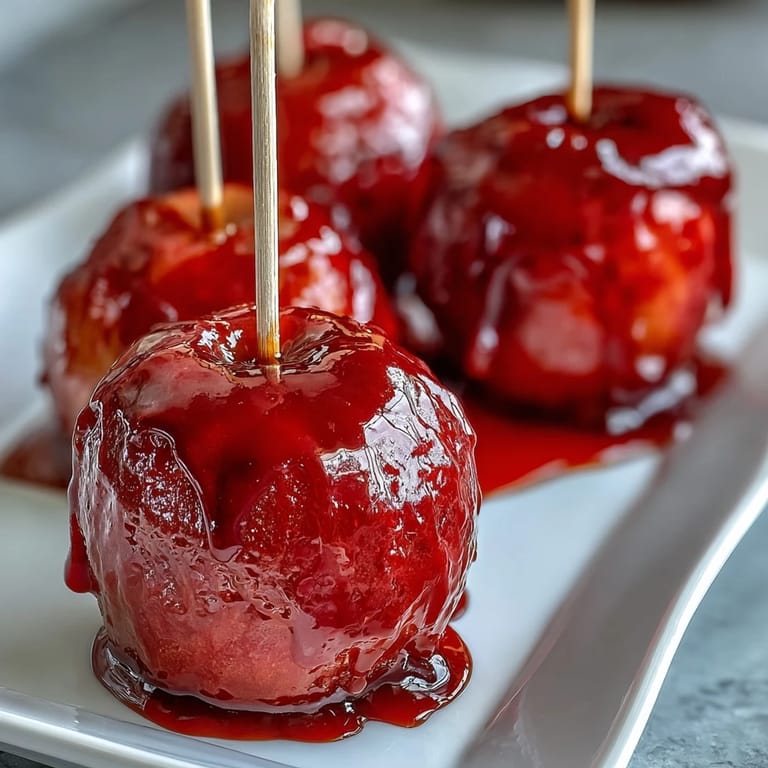 Save to Pinterest
 These little bites have a way of turning an ordinary dessert table into something memorable, which might be why I keep making them for people I care about. There's real joy in watching someone discover that first snappy bite.
Recipe FAQs
- → What type of apples work best for these bites?
Crisp apples like Granny Smith or Fuji are ideal as they hold their shape and provide a tart contrast to the sweet coating.
- → How do I prevent the candy coating from sticking to the tray?
Line your tray with parchment paper sprayed lightly with nonstick cooking spray before placing coated apples to keep them from sticking.
- → Can I customize the topping on these bites?
Yes, sprinkling chopped nuts, mini chocolate chips, or colorful sprinkles immediately after coating adds texture and flavor.
- → What temperature should the candy syrup reach?
Boil the sugar mixture to the hard crack stage, around 300°F, to achieve a firm and glossy candy shell.
- → How do I handle the candy coating safely?
Use caution as the sugar syrup is extremely hot. Stir carefully and dip apple pieces quickly to avoid burns.
- → Can the red food coloring be replaced or omitted?
Yes, you can substitute with green food coloring for a fun twist, or skip it entirely for a natural candy color.